Backup/Recovery
Data loss happens without warning. Regular backups are the only way to protect your business from system failures, human errors, and security incidents. With KIWI, you can easily manage backups from the web UI without complex backup scripts.
Why Are Backups Important?
Without backups, you can suffer significant damage in the following situations:
- Server hardware failure: Without backups, total data loss occurs. With backups, recovery is possible within hours.
- Accidental data deletion: Without backups, recovery is impossible. With backups, you can restore to a previous point.
- Ransomware infection: Without backups, you must pay the ransom or lose data. With backups, you can recover from a clean backup.
- Keep 3 copies of your data
- Store on 2 different storage media
- Keep 1 copy offsite (external storage)
Backup Types
Backup types supported by KIWI:
- etcd Backup: Backs up Kubernetes cluster state. Run daily for cluster disaster recovery.
- Docker Backup: Backs up containers, volumes, and images. Run daily for Docker/Podman environment recovery.
- External Storage: Long-term backup retention. Run weekly for safe storage in MinIO, S3.
etcd is a distributed key-value store that stores all Kubernetes cluster state (Pods, Services, ConfigMaps, etc.). If etcd is corrupted, you may need to rebuild the entire cluster.
Setting Up etcd Backup
How to back up the etcd of a Kubernetes cluster.
Prerequisite: The Kubernetes cluster must be registered in [Runtime Environment].
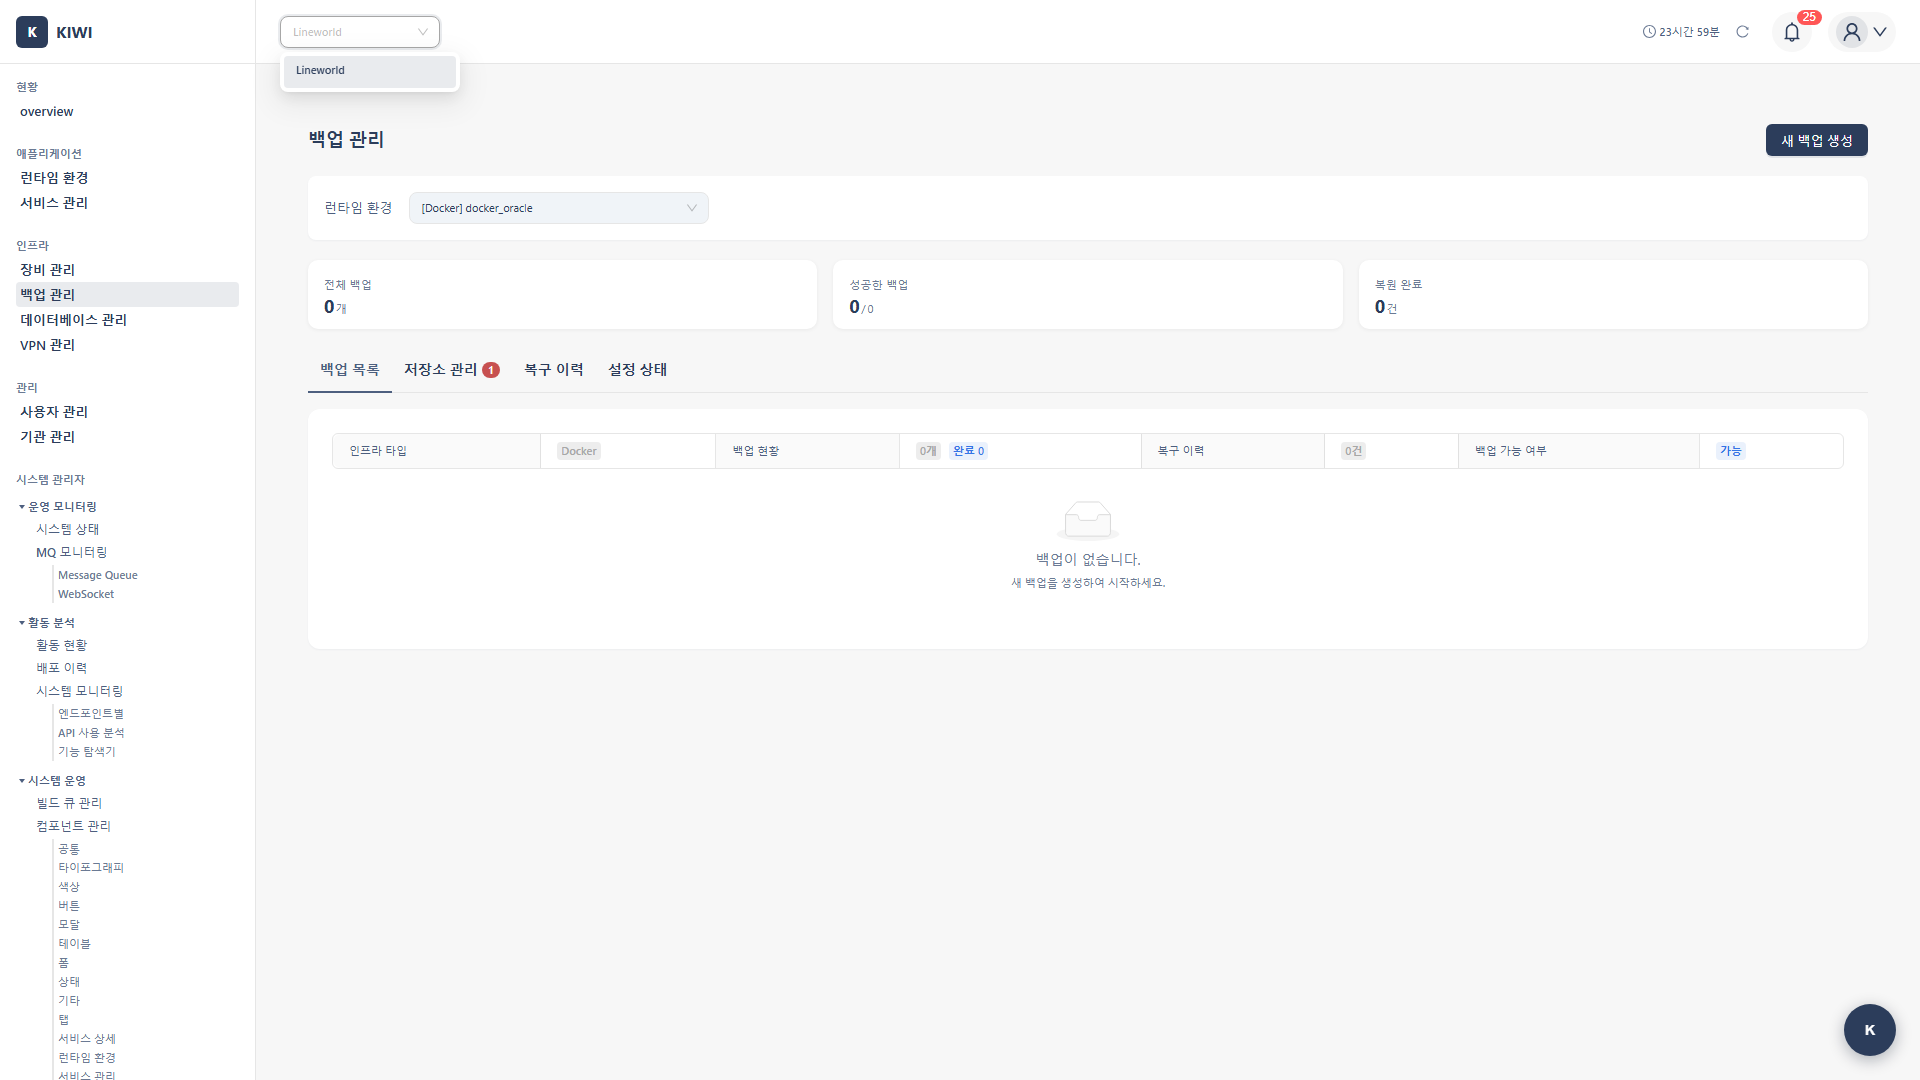
Step 1: Navigate to the Backup Management Page
Click [Backup Management] in the left menu.
Step 2: Select the etcd Backup Tab
Click etcd Backup in the top tabs.
Step 3: Select the Target Cluster
Select the Kubernetes cluster to back up from the cluster selection dropdown. Verify that the cluster connection status is "Connected".
Step 4: Configure Backup Settings
Enter the backup configuration:
- Backup Name: A name to identify the backup. (e.g.,
etcd-daily-backup) - Storage Location: The path where the backup file will be saved. (e.g.,
/backup/etcd/) - Retention Period: The number of days to retain the backup file. (e.g.,
30 days) - Schedule: Set the backup frequency with a cron expression. (e.g.,
0 2 * * *means every day at 2 AM)
Step 5: Run Immediate Backup (Optional)
Click the Backup Now button to run a backup immediately. You can monitor the backup progress in real time.
Step 6: Verify Backup Completion
Check the backup results in the backup history table:
- Backup time
- Backup size
- Status (Success/Failure)
Backing Up Docker Containers
How to back up Docker containers and volumes.
Prerequisite: The Docker runtime must be registered in [Runtime Environment].
Step 1: Navigate to the Backup Management Page
Click [Backup Management] in the left menu.
Step 2: Select the Docker Backup Tab
Click Docker Backup in the top tabs.
Step 3: Select Backup Target
Select what to back up:
- Containers: Back up the state of running containers.
- Volumes: Back up data volumes.
- Images: Back up container images.
Step 4: Configure Backup Options
Set the backup options:
- Compression method: Select a compression method such as gzip or tar.
- Storage location: Specify a local or remote path.
- Exclusion patterns: Specify items to exclude from the backup.
Step 5: Run Backup
Click the Start Backup button. You can monitor the backup progress.
Setting Up External Storage Backup
How to configure backups to be stored in MinIO or S3.
Step 1: Navigate to the Storage Settings Tab
Click the Storage Settings tab on the [Backup Management] page.
Step 2: Add External Storage
Click the Add Storage button. Supported storage types:
- MinIO: On-premises object storage. Used for storing backups in your own infrastructure.
- AWS S3: Amazon S3-compatible storage. Suitable for cloud backups.
- NFS: Network File System. Used when existing NFS infrastructure is available.
Step 3: Enter Storage Connection Information
MinIO connection example:
- Endpoint: MinIO server address. (e.g.,
minio.company.com:9000) - Access Key: MinIO access key.
- Secret Key: MinIO secret key.
- Bucket Name: The bucket to store backups. (e.g.,
kiwi-backup)
Step 4: Test Connection and Save
Click the Test Connection button to verify the connection is working. When a success message appears, click the Save button.
Recovering from a Backup
How to restore the system from a previous backup.
Note: Recovery operations overwrite existing data. Proceed with caution.
Step 1: Navigate to the Recovery History Tab
Click the Recovery History tab on the [Backup Management] page.
Step 2: Select a Backup to Recover
Select the backup to recover from the backup list. Check the following information:
- Backup date/time
- Backup size
- Backup type (etcd/Docker/Storage)
Step 3: Verify Recovery Target
Review the items to be recovered in the Recovery Preview. Confirm the warning that the current data will be overwritten with the backup point-in-time data.
Step 4: Execute Recovery
Click the Start Recovery button. Enter the administrator password for security confirmation.
Step 5: Verify Recovery Completion
Check the recovery results:
- Recovery status (Success/Failure)
- Recovery time elapsed
- List of recovered items.
Setting Up an Automatic Backup Schedule
How to configure automatic daily backups.
Step 1: Navigate to the Schedule Settings Tab
Click the Schedule Settings tab on the [Backup Management] page.
Step 2: Create a New Schedule
Click the Add Schedule button.
Step 3: Configure the Schedule
Enter the schedule information:
- Schedule Name: A name to identify the schedule. (e.g.,
daily-full-backup) - Frequency: Choose from daily, weekly, or monthly.
- Execution Time: The time to run the backup. (e.g.,
02:00) - Backup Target: Select etcd, Docker, or all.
- Retention Policy: The number or duration of backups to retain. (e.g., last 30)
Step 4: Configure Notifications (Optional)
Set up notifications to receive when a backup completes:
- Success notification: Receive a notification when a backup succeeds.
- Failure notification: Receive a notification when a backup fails.
- Email: Enter the email address to receive notifications.
Step 5: Activate the Schedule
Click the Save and Activate button. Verify the active status in the schedule list.
Frequently Asked Questions
Backup is failing
Errors and solutions:
- "No space left on device": Insufficient storage. Free up disk space at storage path.
- "Permission denied": No write permission. Check permissions on storage path.
- "Connection timeout": Network issue. Check target server connectivity.
Service is not working normally after recovery
Things to check:
- Version compatibility: Check version differences between backup time and current Kubernetes/Docker.
- Configuration changes: Check if settings were changed after backup
- External dependencies: Check database and external API connections.
- Verify all Pods are in Running state.
- Verify service endpoints are accessible.
- Check logs for errors.
Backup size is too large
Ways to reduce size:
- Enable compression: Save 50-70% with gzip compression.
- Set exclusion patterns: Exclude logs and cache files.
- Incremental backup: Only back up changes (when supported)
Cannot connect to external storage
- Verify Access Key and Secret Key are correct
- Verify bucket exists and has write permissions.
- Check if firewall allows the port (MinIO: 9000, S3: 443)
Related Guides
- Runtime Environment Registration - K8s/Docker runtime registration.
- Dashboard Usage - Backup status monitoring.