Service Build/Deploy
You've written your code, now it's time to deploy. KIWI simplifies the complex build and deployment process. This guide walks you through the entire journey from source code to container image, and finally to deployment in your target environment.
Containers bundle your application with its runtime environment, solving the classic "but it works on my machine..." problem. The biggest advantage of containers is that they run consistently across development, testing, and production environments.
Pipeline Overview
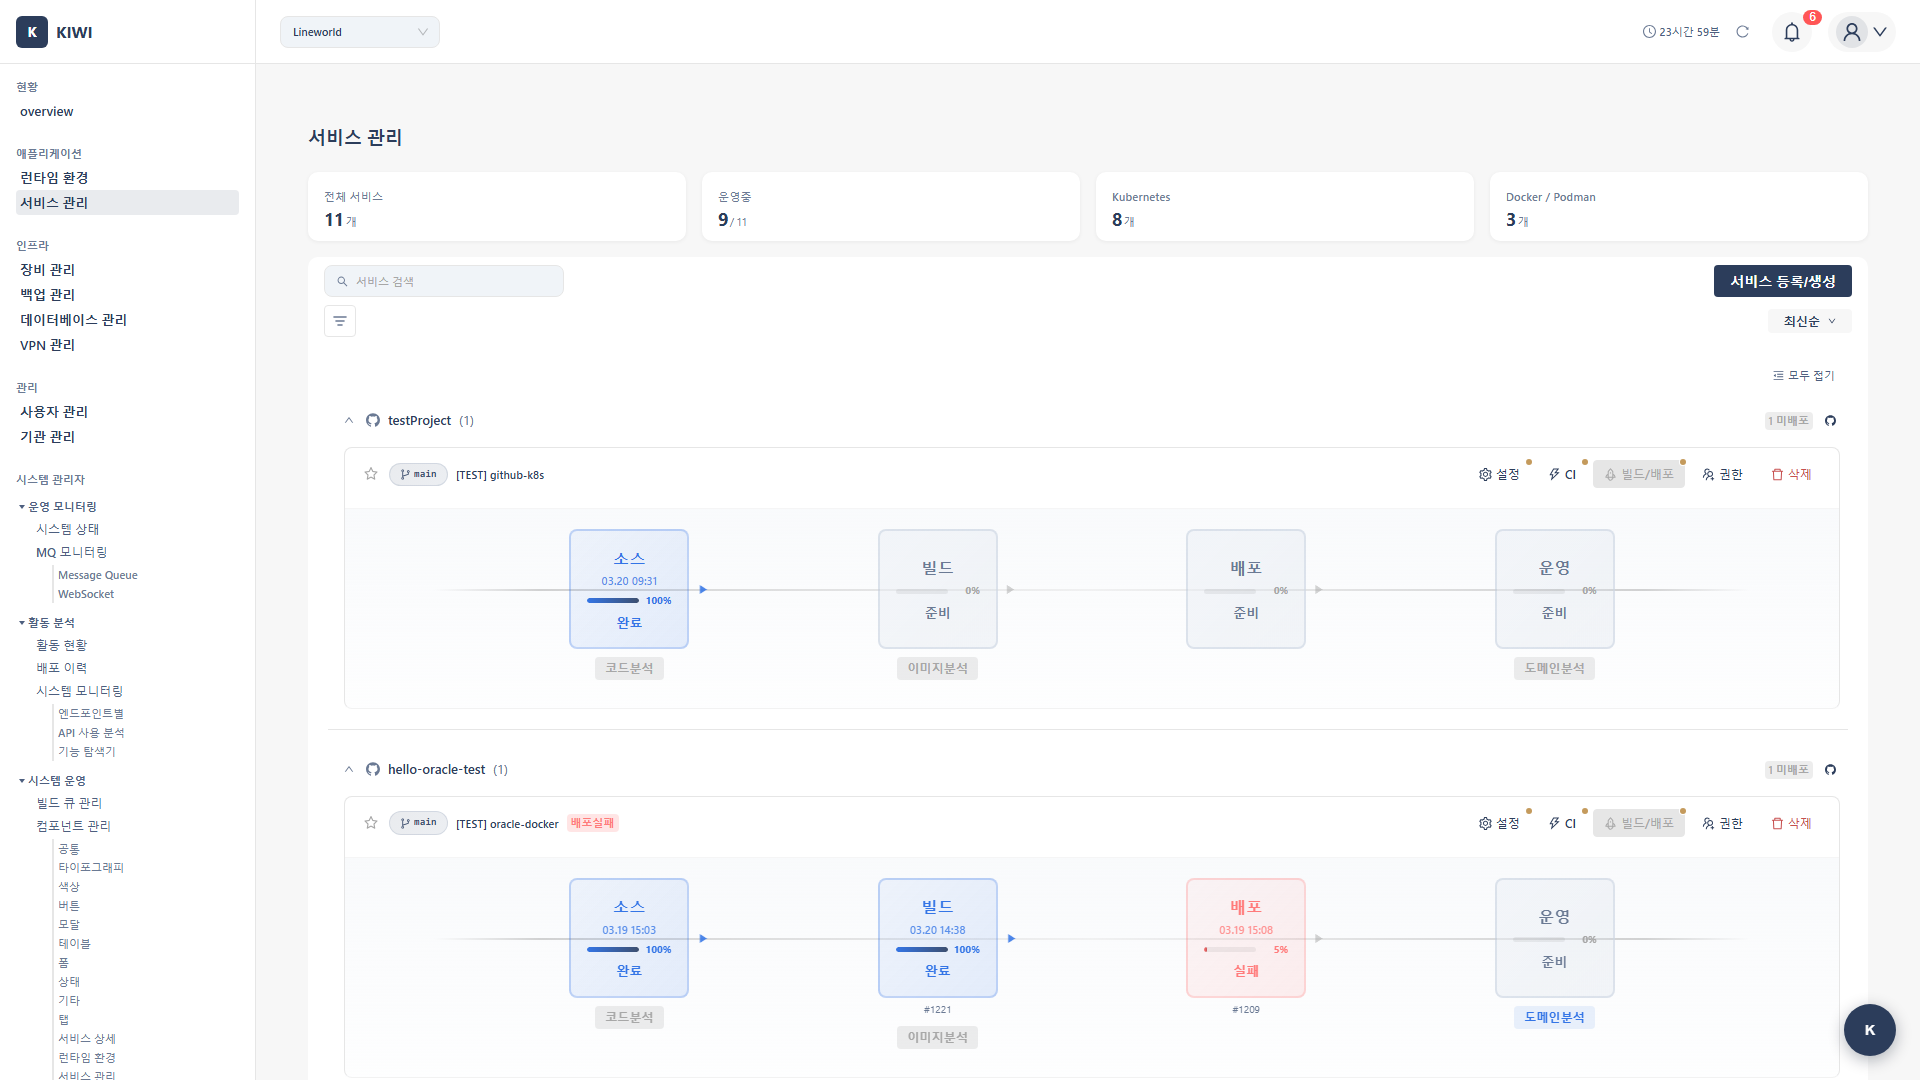
KIWI manages the entire service lifecycle through a 4-stage pipeline:
Source → Build → Deploy → Operate
- Source (Source code management): Provides Git integration and SAST security analysis.
- Build (Container image building): Performs Kaniko builds and SCA vulnerability analysis.
- Deploy (Deployment execution): Provides K8s/Docker deployment and rollback.
- Operate (Operations management): Performs monitoring, log viewing, and DAST scans.
Kaniko is a tool that builds container images inside a container without requiring a Docker daemon. It allows you to safely build images even in security-hardened Kubernetes environments.
Choosing Your Build/Deploy Scenario
Which scenario fits your needs? Check out the guide below.
CI/CD Automation - "Push code, auto deploy!"
Reduce repetitive work and prevent mistakes through automation.
-
Auto CI Setup - GitLab Webhook-based automatic build/deploy
- Automatically builds and deploys when code is pushed.
- Set it up once, no manual work needed.
-
Build Wizard - Automatic Dockerfile generation wizard
- Don't worry if you don't have a Dockerfile.
- Analyzes your project and creates an optimized Dockerfile.
Manual Build/Deploy - "I want direct control"
Recommended for those who need fine-grained control or are just getting started.
- Manual Build - Configure and run builds manually.
- K8s Deployment - Deploy to Kubernetes clusters.
- K8s YAML Generation Guide - Kind-specific options and practical YAML configuration examples
- Docker Deployment - Deploy to Docker/Podman runtimes.
- Rollback - Quickly restore to a previous version when issues occur
Service Configuration - "I want to set up domains and HTTPS too"
- Domain/SSL Setup - Connect custom domains and configure HTTPS
Quick Start Guide
First-time Deployment
If this is your first time, follow these steps:
-
Register Your Service Refer to the Service Registration Guide to register your service first.
-
Set Up Build
- If you have a Dockerfile → Manual Build
- If you don't have a Dockerfile → Auto-generate with Build Wizard
-
Deploy
- For production environments → K8s Deployment (high availability, scaling support)
- For development/testing → Docker Deployment (fast and simple)
For Automation
If you've already done manual deployment, upgrade to automation:
- With service registration complete.
- Integrate GitLab Webhook using Auto CI Setup
- Now when you push code, builds and deployments run automatically!
Auto-deploy development branch to dev environment, main branch to staging environment, and use manual approval before deploying to production for safety.
Prerequisites
Before starting a build/deploy, please verify the following:
- Service Registered: The service must be registered on the [Service Management] page
- Git Integration Complete: The service must have a GitLab URL and Access Token configured.
- Registry Configured: Harbor or DockerHub registry information must be registered.
- Runtime Registered: A K8s or Docker runtime must be registered on the [Runtime Environment] page
If the build button is disabled, one of the above conditions hasn't been met. Check the service settings page for missing items.
Next Steps
After completing builds and deployments, explore security and operations:
- Security Analysis - Check security vulnerabilities with SAST, SCA, DAST scans.
- Operations Management - Log viewing, monitoring, alert configuration.