System Registration
This is the first step to using KIWI. Once you register your company's servers, Kubernetes clusters, and Docker environments in KIWI, you can conveniently perform all deployment and management tasks from the web UI.
Why Do You Need System Registration?
Registering your systems provides the following benefits:
- Server Access: Before registration, you must connect directly via SSH client. After registration, one-click access from web UI.
- Container Deployment: Before registration, you must manually run kubectl/docker commands. After registration, deploy with button click.
- Status Monitoring: Before registration, you must check each server individually. After registration, view all at once in dashboard.
- Backup Management: Before registration, you must write scripts and set up cron. After registration, automatic backup with schedule settings.
Prerequisites
Before registering systems, prepare the following information:
- Server info: IP address, SSH port, access credentials .
- Kubernetes info: kubeconfig file (Master node's
~/.kube/config) - Docker info: Server information where Docker is installed .
If you cannot access this feature, please request device and infra permissions from your organization manager.
Registering a Server (Device)
First, register your company servers in KIWI. Once registered, SSH access, status monitoring, and Docker/Kubernetes runtime connections become available.
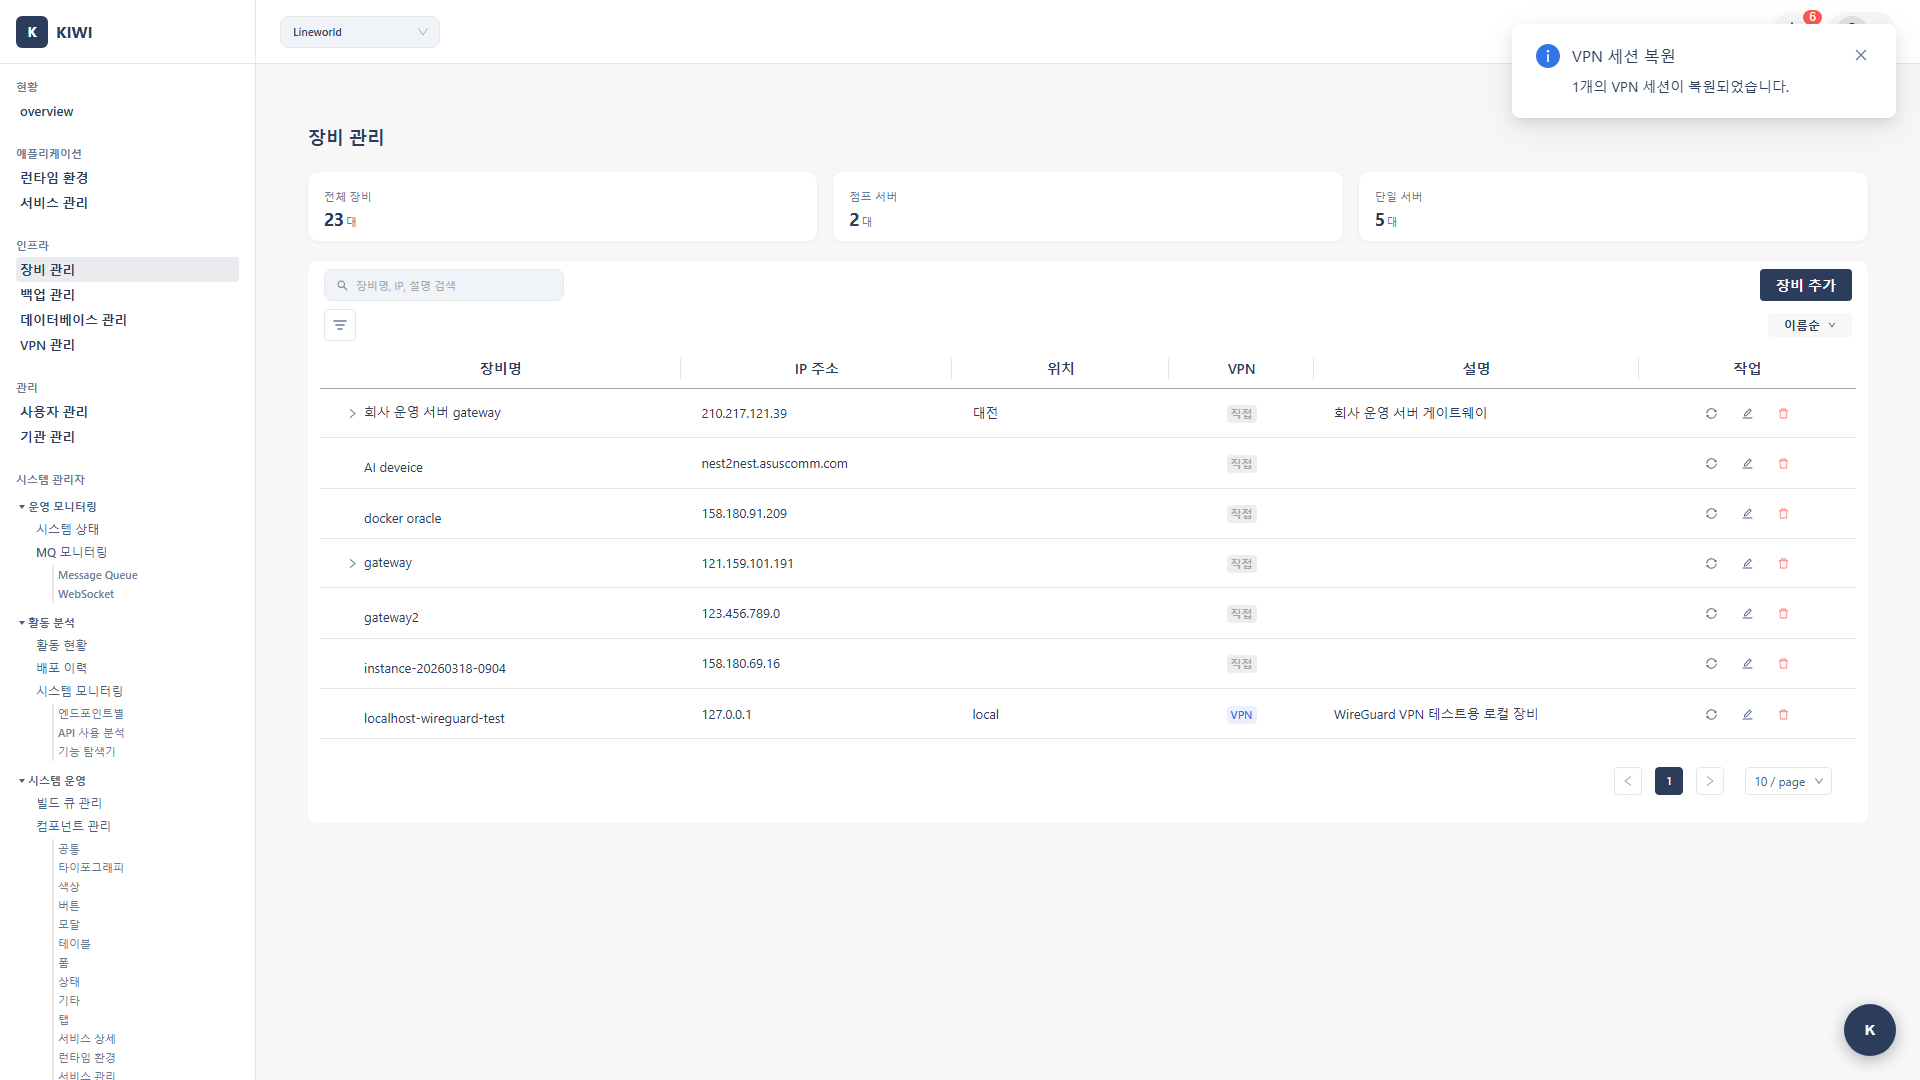
Step 1: Start Device Registration
Click [Device Management] in the left menu, then click the Register Device button in the top right.
Step 2: Enter Device Information
Enter the information for the server to register:
- Device name: Easily identifiable name for the server. (e.g.,
production-server-01) - IP address: Server's IP address. (e.g.,
192.168.1.100) - SSH port: SSH access port. (Default:
22) - Location (optional): Data center, rack location, etc. (e.g.,
IDC-A, Rack-3) - VPN Profile (optional): Required if access requires VPN.
Step 3: Enter SSH Authentication Information
Enter the authentication information for accessing the server:
- Password authentication: Authenticate with username and password. Use when quick setup is needed.
- SSH Key authentication (recommended): Authenticate with private key file. Recommended for security-critical environments.
We recommend SSH key authentication for security. Password authentication can be vulnerable to brute force attacks.
Step 4: Test Connection and Save
Click the Test Connection button to verify the connection. When "Connection successful" message appears, click the Save button.
- SSH port is open in server firewall
- SSH service is running (
systemctl status sshd) - IP address and port are correct
- Authentication information (username/password or key) is correct
Registering an External Kubernetes Cluster
Connect an existing Kubernetes cluster to KIWI. Once connected, Pod deployment, status monitoring, and log viewing become available from the web UI.
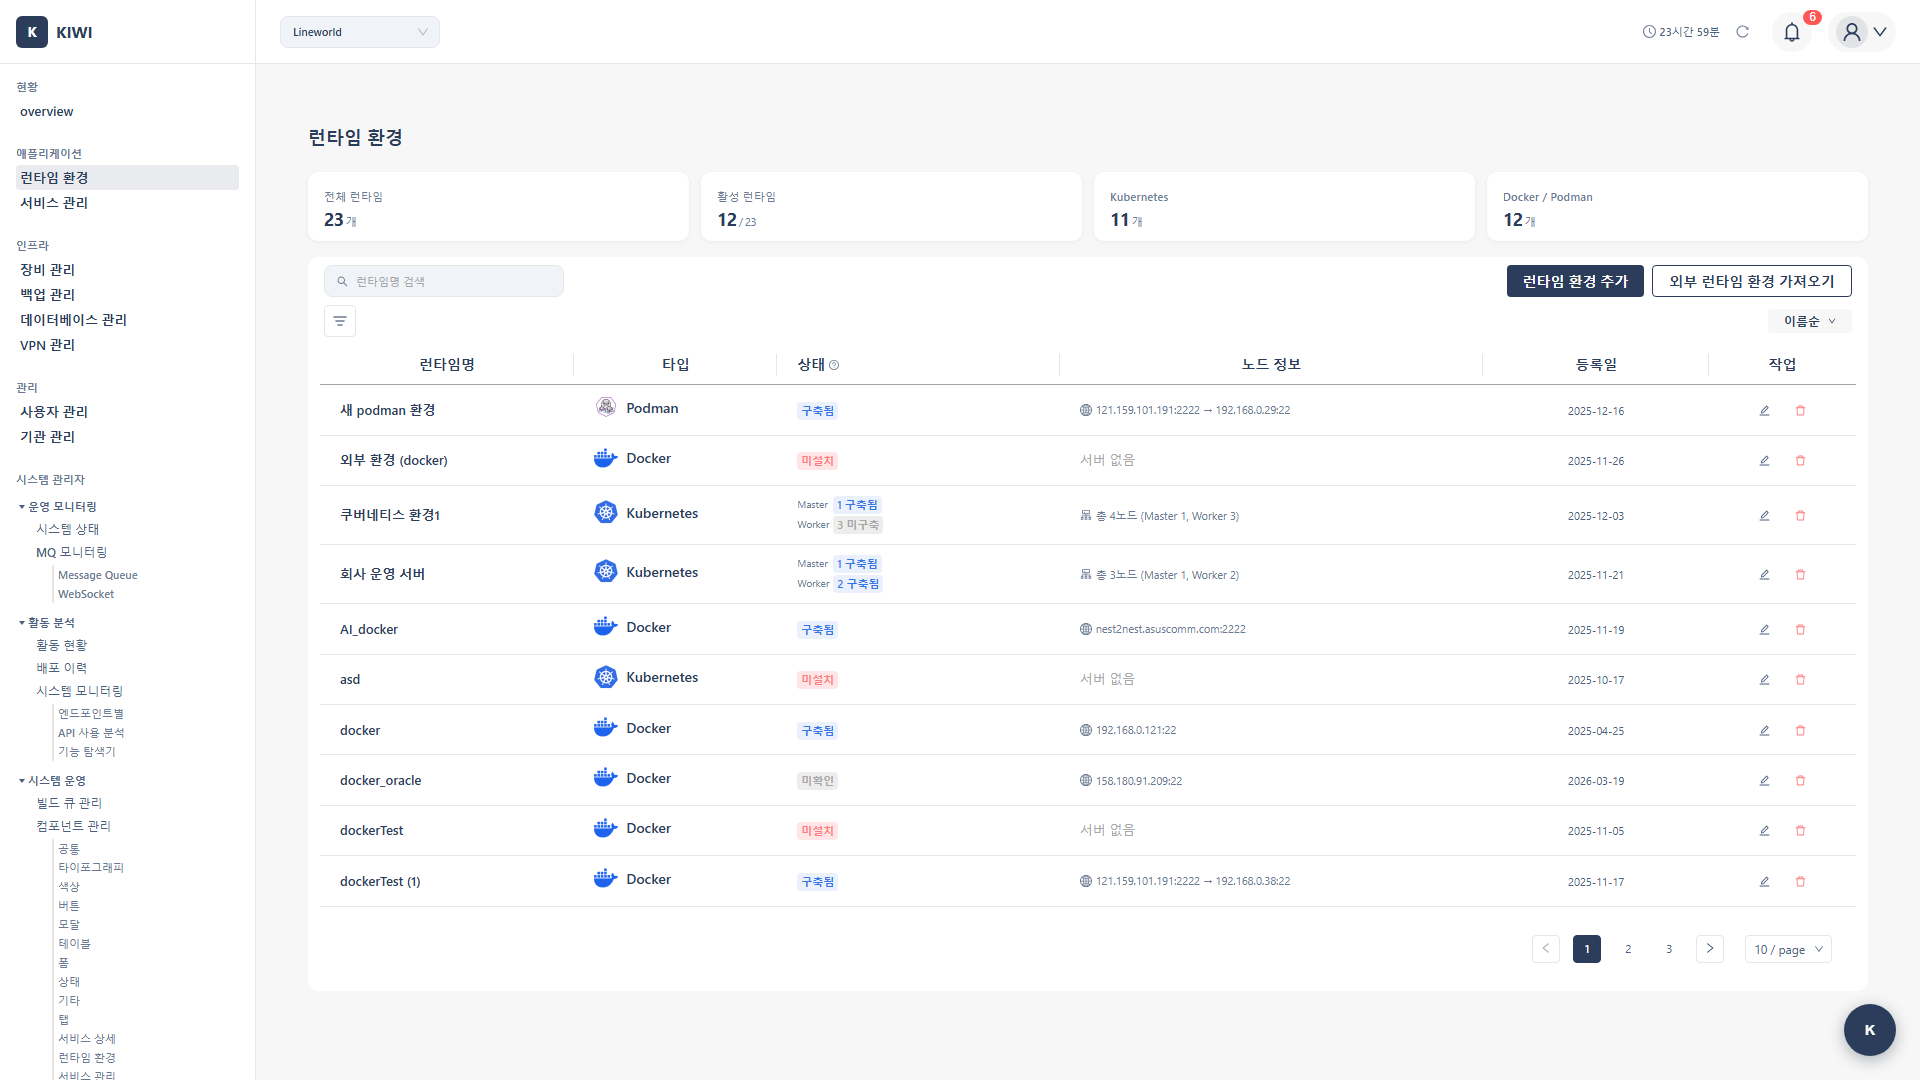
Step 1: Navigate to the Runtime Environment Page
Click [Runtime Environment] in the left menu, then click the Import External Runtime button.
Step 2: Select the Connection Method
Select how to access the cluster:
- kubeconfig: Connect directly with kubeconfig file. Use when direct cluster access is available.
- SSH tunnel: Access cluster via SSH. Use for clusters behind firewall.
- VPN: Access cluster via VPN. Use for environments requiring VPN connection.
Step 3: Upload kubeconfig
Upload the kubeconfig file by drag-and-drop or file selection.
The kubeconfig file is usually located at ~/.kube/config on the Kubernetes Master node. Copy this file and upload it.
# Run on the Master node
cat ~/.kube/config
- Make sure the authentication token in kubeconfig hasn't expired .
- Using kubeconfig with cluster admin permissions is recommended .
- This is sensitive information, so store it safely .
Step 4: Verify Connection and Save
Click the Test Connection button. If successful, cluster version and node information will be displayed. Click Save to complete registration.
Registering a Docker Runtime
Register a server with Docker installed as a KIWI runtime. Use this when running containers on single servers without Kubernetes.
The server must first be registered in [Device Management].
Step 1: Start Runtime Registration
Click [Runtime Environment] in the left menu, then click the Register Runtime button.
Step 2: Select Runtime Type and Server
Select Docker or Podman as the runtime type. Select the server with the runtime installed from the device list.
- Docker: The most widely used container runtime
- Podman: Compatible with Docker, with higher security through rootless mode .
Step 3: Configure Docker Socket Path
Set the Docker socket path:
- Default socket (default:
/var/run/docker.sock): Use for most cases. - Remote API (e.g.,
tcp://192.168.1.100:2375): Use when using TCP socket.
Step 4: Complete Registration and Verify
Click the Save button. Verify that the container list is retrieved successfully from the runtime list.
Frequently Asked Questions
SSH connection is failing
Symptoms and solutions:
- "Connection refused": SSH service stopped. Run
systemctl start sshdto start the service. - "Connection timeout": Firewall blocking. Allow SSH port in firewall.
- "Permission denied": Authentication failed. Check username/password or key.
kubeconfig is not working
- Token expired: The token in kubeconfig may have expired. Obtain a new kubeconfig.
- Insufficient permissions: Cluster admin permissions are required.
- Network issue: Check that the API server address is accessible.
Docker socket access is denied
The SSH user must be part of the docker group:
# Run on the server
sudo usermod -aG docker username

# Re-login required for group change to take effect
Next Steps
After system registration is complete, proceed with the following:
- Service Registration - Integrate a Git repository and register a service .
- Security Scan Setup - Set up SAST/SCA security scanning .
- Backup Setup - Set up automatic backup of important data