SCA Scan
What would you do if the npm packages or Docker base image used in your project had security vulnerabilities? SCA (Software Composition Analysis) automatically analyzes container images and software dependencies to find known vulnerabilities (CVEs).
Modern software relies on numerous external libraries. On average, more than 80% of application code consists of open source libraries. If even one of these libraries has a security vulnerability, the entire application can be at risk. SCA automatically finds these hidden risks.
Overview
- Analysis target: Container images, dependency packages.
- Stage: Build stage (after build)
- Analysis engine: Trivy
- Vulnerability DB: NVD, Alpine SecDB, Red Hat Security Data, and various other sources.
Analysis Targets
SCA analyzes various types of packages and images.
Image Vulnerabilities
Analyzes all packages included in Docker images.
- OS packages: System packages from Alpine, Debian, Ubuntu, etc. (packages installed via apt, apk)
- Language packages: Packages installed via language-specific package managers like npm, pip, maven, go
- Base images: Vulnerabilities in the base image specified in Dockerfile's FROM clause.
Dependency Vulnerabilities
Analyzes your project's dependency files.
package-lock.json(Node.js)requirements.txt,Pipfile.lock(Python)pom.xml,build.gradle(Java)go.sum(Go)Gemfile.lock(Ruby)composer.lock(PHP)
You can't know the exact installed versions from package.json alone. Lock files like package-lock.json record the exact versions actually installed, allowing accurate detection of vulnerable versions.
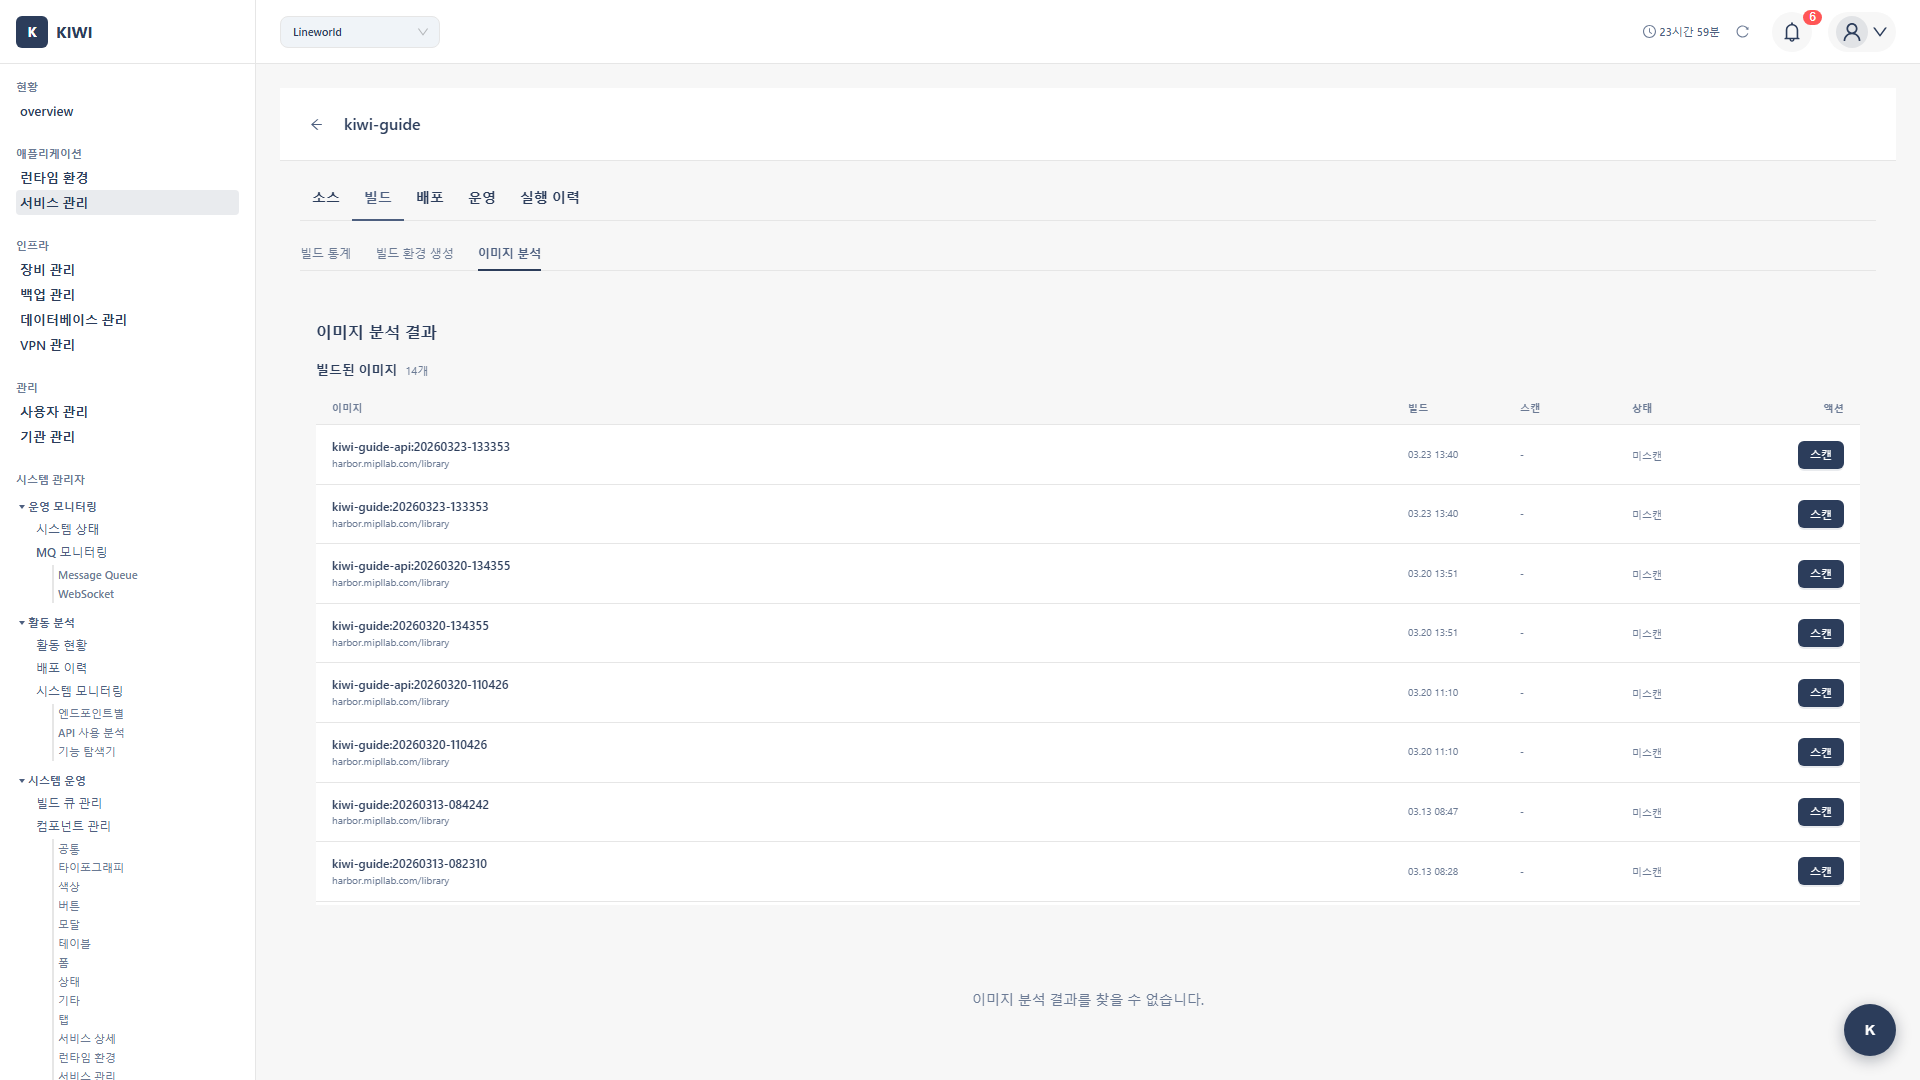
Step 1: Starting an SCA Scan
- Navigate to the [Service Management] page
- Select the service to analyze
- Click the Build stage in the pipeline
- Select the SCA tab
- Click the Start Scan button.
Step 2: Configuring Scan Target
2.1 Select Image
Select the container image to analyze:
- Latest build image: Automatically selects the most recently built image (recommended)
- Specific tag: Specify a specific version image tag
- Image URL: Enter the full image path directly (e.g.,
harbor.company.com/project/app:v1.2.3)
2.2 Scan Options
-
VEX Hub filtering (enabled by default): Automatically filters out known false positives. This reduces noise and helps you focus on truly important vulnerabilities.
-
Severity filter (default: Medium): Shows only vulnerabilities at or above the set severity. Showing everything down to Low can be overwhelming, so start with Medium or above.
-
Ignore list: Excludes specific CVEs that you've already reviewed and decided to ignore.
Step 3: Running the Scan
3.1 Scan Progress
When the scan starts, it proceeds through the following stages:
[1/4] Pulling image...              <- Downloading image
[2/4] Scanning OS packages...       <- Analyzing OS packages
   -> Found 150 packages             <- Found 150 packages
   -> Checking vulnerabilities...    <- Checking vulnerabilities
[3/4] Scanning application packages... <- Analyzing application packages
   -> Found 85 npm packages          <- Found 85 npm packages
   -> Checking vulnerabilities...    <- Checking vulnerabilities
[4/4] Applying VEX filters...       <- Applying VEX filters
Scan completed!                     <- Complete
3.2 Estimated Scan Time
Scan time varies depending on image size:
- Under 100MB: About 30 seconds.
- 100-500MB: 1-2 minutes
- Over 500MB: 2-5 minutes.
Step 4: Reviewing Results
4.1 Results Summary
Once the scan is complete, you can see the following information at a glance:
- Total vulnerabilities: Total number of detected vulnerabilities.
- Severity distribution: Number of Critical/High/Medium/Low vulnerabilities.
- Fixable: Number of vulnerabilities that can be fixed with package updates.
4.2 Vulnerability Details
Click each vulnerability to see the following information:
- CVE ID: Unique vulnerability identifier (e.g., CVE-2021-44228)
- Package name: Name of the vulnerable package
- Current version: Currently installed version.
- Fixed version: Version where the vulnerability is fixed (if available)
- Severity: Severity based on CVSS score
- Description: Detailed description of the vulnerability.
- Reference links: Additional information from NVD, vendor security advisories, etc.
Vulnerabilities showing a "Fixed version" can be resolved by updating the package. Addressing these before vulnerabilities without fixed versions allows you to quickly reduce the vulnerability count.
Vulnerability Types
Knowing the common vulnerability types detected by SCA helps you quickly assess risk.
OS Package Vulnerabilities
System-level vulnerabilities that are often serious.
-
Privilege escalation: Vulnerabilities that allow normal users to gain root privileges.
- e.g., CVE-2021-3156 (sudo vulnerability) - Local users can gain root privileges.
-
Remote code execution: Vulnerabilities that allow execution of malicious code from outside.
- e.g., CVE-2021-44228 (Log4Shell) - Remote code execution in Java applications.
-
Denial of service (DoS): Vulnerabilities that can stop services.
- e.g., CVE-2022-0778 (OpenSSL) - Service interruption via infinite loop
Language Package Vulnerabilities
Vulnerabilities found in each programming language ecosystem.
- Node.js: Prototype Pollution, XSS, ReDoS (Regular expression Denial of Service)
- Python: Command Injection, Path Traversal, Deserialization vulnerabilities.
- Java: Deserialization, SSRF (Server-Side Request Forgery), XXE (XML External Entity)
VEX Hub Filtering
What is VEX?
VEX (Vulnerability Exploitability eXchange) is data that evaluates whether a specific vulnerability actually affects a product. For example, even if a vulnerable function exists in the code, there's no impact if that function is never called.
Why is it needed?
Not all vulnerabilities registered in CVE databases are actually dangerous. VEX filtering provides:
- False positive removal: Excludes vulnerabilities with no real impact
- Noise reduction: Focus on the truly important ones among hundreds of vulnerabilities.
- Accurate prioritization: Sorted by actual risk
Filtering States
Each vulnerability displays one of the following states:
- Affected: Actually impacted - action required.
- Not Affected: Not impacted - filtered out by VEX
- Fixed: Already fixed - resolved in the latest version.
- Under Investigation: Under investigation - impact not yet confirmed.
Enabling VEX Hub filtering automatically excludes vulnerabilities with no real impact, allowing you to focus on the truly important ones. We recommend keeping it enabled unless you have a specific reason not to.
Configuring Automatic Scans
Automatic Scan After Build
You can configure SCA scans to run automatically each time a build completes.
- Enable SCA in Auto CI Settings
- SCA scan runs automatically after build completion.
- Results are available in the Build stage
Blocking Policies
You can set policies to automatically block deployment when vulnerabilities are found.
- Block Critical: Block deployment when Critical severity vulnerabilities are found (recommended for production)
- Block High: Block when High or higher severity vulnerabilities are found (recommended for staging)
- Alert only: Only send notifications when vulnerabilities are found (development environments)
Deploying images with known Critical vulnerabilities to production can lead to serious security incidents. Always enable Critical blocking policies in production environments.
Fixing Vulnerabilities
Updating Packages
The most common fix is to update packages to versions where the vulnerability has been resolved.
- Check the "Fixed version" in the scan results.
- Update the dependency files to that version.
# Node.js example
npm update lodash

# Python example
pip install --upgrade requests - Rebuild the image
- Rescan to verify the vulnerability is resolved.
Changing Base Image
If the base image itself has many vulnerabilities, it's effective to change to a newer version or a different image.
# Vulnerable version (old Alpine)
FROM node:16-alpine3.14

# Fixed version (latest Alpine)
FROM node:20-alpine3.19
Alpine Linux includes only minimal packages, so it often has fewer vulnerabilities than Debian or Ubuntu-based images. We recommend using Alpine-based images when possible.
Troubleshooting
Scan Failure
-
Image pull failure: Check container registry authentication credentials. The token may have expired or permissions may be insufficient.
-
Timeout: Large images may cause timeouts. Consider image optimization or increase the timeout setting.
-
DB update failure: The vulnerability database update failed. Check network connectivity and try again.
Too Many Detections
If too many vulnerabilities are detected and management becomes difficult:
-
Enable VEX filter: Automatically filters false positives with no real impact
-
Use ignore lists: Add CVEs you've reviewed and decided to ignore to the list
-
Adjust severity filter: Start by showing only High and above, then gradually expand the scope
-
Replace base image: Replace base images with many vulnerabilities with safer images.
Related Guides
- SAST Scan - Source code analysis.
- SBOM Generation - Component list
- DAST Scan - Dynamic analysis.