Docker Deployment
This guide explains how to deploy built container images to a Docker or Podman runtime. Docker deployment is simple to configure and quick to start, making it suitable for development environments or small-scale services.
- Complexity: Docker is simple, Kubernetes is more complex to configure.
- Scalability: Docker has limited scalability, Kubernetes has auto-scaling support.
- High Availability: Docker requires manual configuration, Kubernetes has built-in support.
- Recommended For: Docker is best for development, testing, and small-scale deployments. Kubernetes is recommended for staging and production.
Prerequisites
Before starting deployment, verify the following:
- Docker/Podman runtime registered: Docker or Podman runtime must be registered on the [Runtime Environment] page
- Image build complete: Image must be pushed to the registry.
Step 1: Go to Deploy Stage
- Navigate to the [Service Management] page
- Select the service to deploy
- Click the Deploy stage in the pipeline
Step 2: Select Docker Deployment
- Select Docker as the deployment type
- Select the target runtime:
- Docker: Docker Engine based runtime. Most common with wide compatibility.
- Podman: Rootless container runtime with enhanced security. Operates without a daemon.
Podman is a container runtime compatible with Docker but operates without a daemon and supports rootless mode. Recommended for security-critical environments.
Step 3: Container Basic Settings
Enter basic container information:
- Container Name: Container identifier. (e.g.,
my-web-app) - Image Tag: Image to deploy. (e.g.,
harbor.company.com/library/app:latest) - Restart Policy: Container restart rule. (e.g.,
always)
Understanding Restart Policies
- no: Never restart. Recommended for one-time tasks.
- on-failure: Restart only on error exit. Recommended for development.
- always: Always restart, including after manual stop. Recommended for testing.
- unless-stopped: Restart until manually stopped. Recommended for production.
For production environments, unless-stopped is recommended. The container auto-starts on system reboot but won't restart if intentionally stopped.
Step 4: Port Mapping
Map ports to allow external access to the container.
- Host Port: External access port. (e.g.,
8080) - Container Port: Port inside container. (e.g.,
80) - Protocol: TCP or UDP. (Default:
tcp)
Multiple Port Mappings
When multiple ports need to be mapped:
8080:80    # HTTP traffic
8443:443   # HTTPS traffic
9090:9090  # Metrics endpoint
You cannot bind multiple containers to the same port on the host. If a port is already in use, select a different port.
Step 5: Volume Mount (Optional)
Mount volumes to persist data or share files with the host.
5.1 Bind Mount
Mount a specific host directory to the container:
- Host Path: Directory on host. (e.g.,
/data/app) - Container Path: Mount location in container. (e.g.,
/app/data) - Read-only: Allow read-only access. (Check for
:ro)
5.2 Using Docker Volumes
Use Docker-managed volumes:
- Volume Name: Docker volume name. (e.g.,
app-data) - Container Path: Mount location. (e.g.,
/app/data)
- Bind Mount: Directly mounts a specific host path. Useful for config files or log inspection.
- Docker Volume: Docker-managed volume. Recommended for persistent data like databases.
Step 6: Environment Variable Settings
Configure environment variables needed by the application.
Direct Input
Enter environment variables as key-value pairs:
NODE_ENV: Runtime environment. (e.g.,production)DATABASE_URL: DB connection string. (e.g.,postgresql://...)API_KEY: External API key. (e.g.,xxx-xxx-xxx)
Environment File (.env)
You can bulk-load environment variables by referencing an .env file.
Pass sensitive information like passwords or API keys as environment variables, but never hardcode them in source code. Add .env files to .gitignore to exclude from version control.
Step 7: Network Settings (Optional)
Configure when inter-container communication or network isolation is needed.
- Network Name: Docker network. (e.g.,
app-network) - Network Mode: Network type. (Default:
bridge) - Hostname: Container hostname. (e.g.,
api-server)
- bridge: Default mode. Container runs in isolated network
- host: Uses host network directly. No port mapping needed.
- none: Disables networking
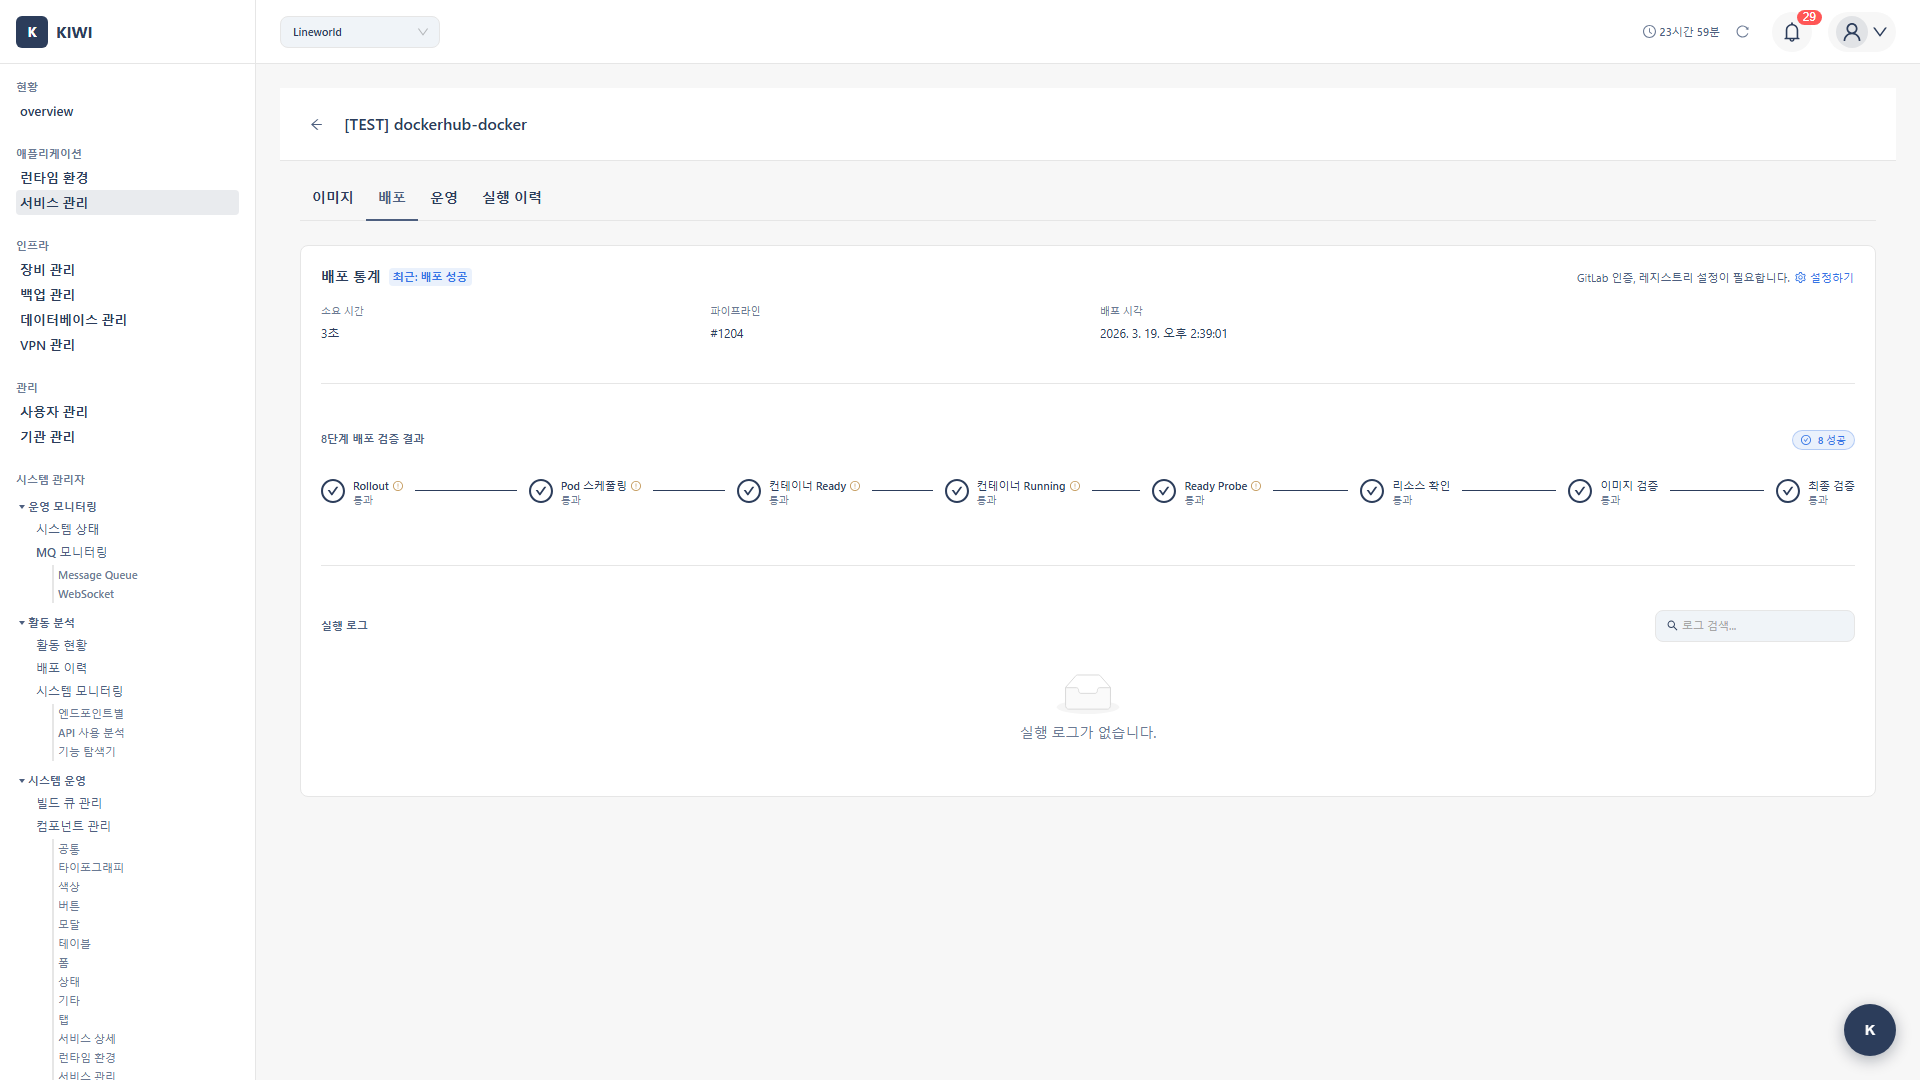
Step 8: Run Deployment
- Review all settings.
- Click the Deploy button.
- Check deployment status.
Deployment Process
[1/4] Pulling image...
[2/4] Stopping existing container...
[3/4] Creating new container...
[4/4] Starting container...
Container started successfully!
If a container with the same name is already running, it's automatically stopped and replaced with a new container.
Step 9: Check Container Status
Check container status in the Operate stage.
Docker Containers Tab
The following information is available:
- Status: Running / Stopped / Error.
- Port: Mapped port information.
- Created Time: When container was created.
- Resources: CPU / Memory usage.
Container Controls
- Start: Start stopped container.
- Stop: Stop running container.
- Restart: Restart container.
- Remove: Delete container.
Docker Compose Deployment
Use Docker Compose when you need to deploy multiple containers together.
Configure Compose File
Register the Docker Compose file path in service settings:
- Compose File: docker-compose.yml path. (e.g.,
./docker-compose.yml) - Environment File: .env file path. (e.g.,
./.env.production)
Compose Deployment
- Click Deploy stage for a service with Compose file configured.
- Automatically switches to Compose mode.
docker-compose up -dcommand runs to deploy the entire stack.
- Manage multiple containers with a single command
- Define inter-container dependencies (
depends_on) - Automatic network creation
Troubleshooting
Container Startup Failure
- Port conflict: Use different port or stop existing container.
- Image not found: Verify image tag, run
docker pull - Permission issue: Check permissions on volume mount paths.
Container Crash (Repeated Restarts)
- Missing environment variables: Verify required environment variables are set
- Dependency issue: Check error messages with
docker logscommand - Insufficient memory: Increase resource limits or optimize application.
Cannot Access from Outside
- Port not mapped: Verify port mapping settings.
- Firewall blocking: Allow port in host firewall
- Internal container error: Check logs and application status.
Check real-time logs in the Logs tab under Operate stage, or use docker logs <container-name> command in terminal.
Related Guides
- K8s Deployment - Kubernetes cluster deployment.
- Rollback - Restore to previous version.
- Operations Management - Container monitoring.