Device Registration
This guide explains how to register a server for management in the KIWI platform. Device registration is the starting point for everything. You must register a server first before you can connect runtimes like Docker or Kubernetes on top of it.
Why Is Device Registration Needed?
KIWI connects to servers via SSH to perform various management tasks. Once you register a device, you can:
- Monitor server status (CPU, memory, disk usage)
- Manage Docker/Podman containers
- Deploy and operate applications .
SSH (Secure Shell) is a protocol that allows you to securely connect to remote servers over a network. It lets you execute commands remotely as if you were sitting directly in front of the server's terminal.
Prerequisites
The following conditions must be met before registering a device:
- The server to register must be accessible via SSH
- The SSH account must have root or sudo permissions
- Network policy must allow the KIWI agent to access that server .
- Prepare a password or SSH private key file (.pem, .key) for SSH authentication .
Test the server connection in advance from your terminal with the following command:
# Password authentication
ssh username@server-ip-address

# SSH key authentication
ssh -i /path/to/private_key username@server-ip-address
If you connect successfully, KIWI will be able to connect without problems too.
Registration Procedure
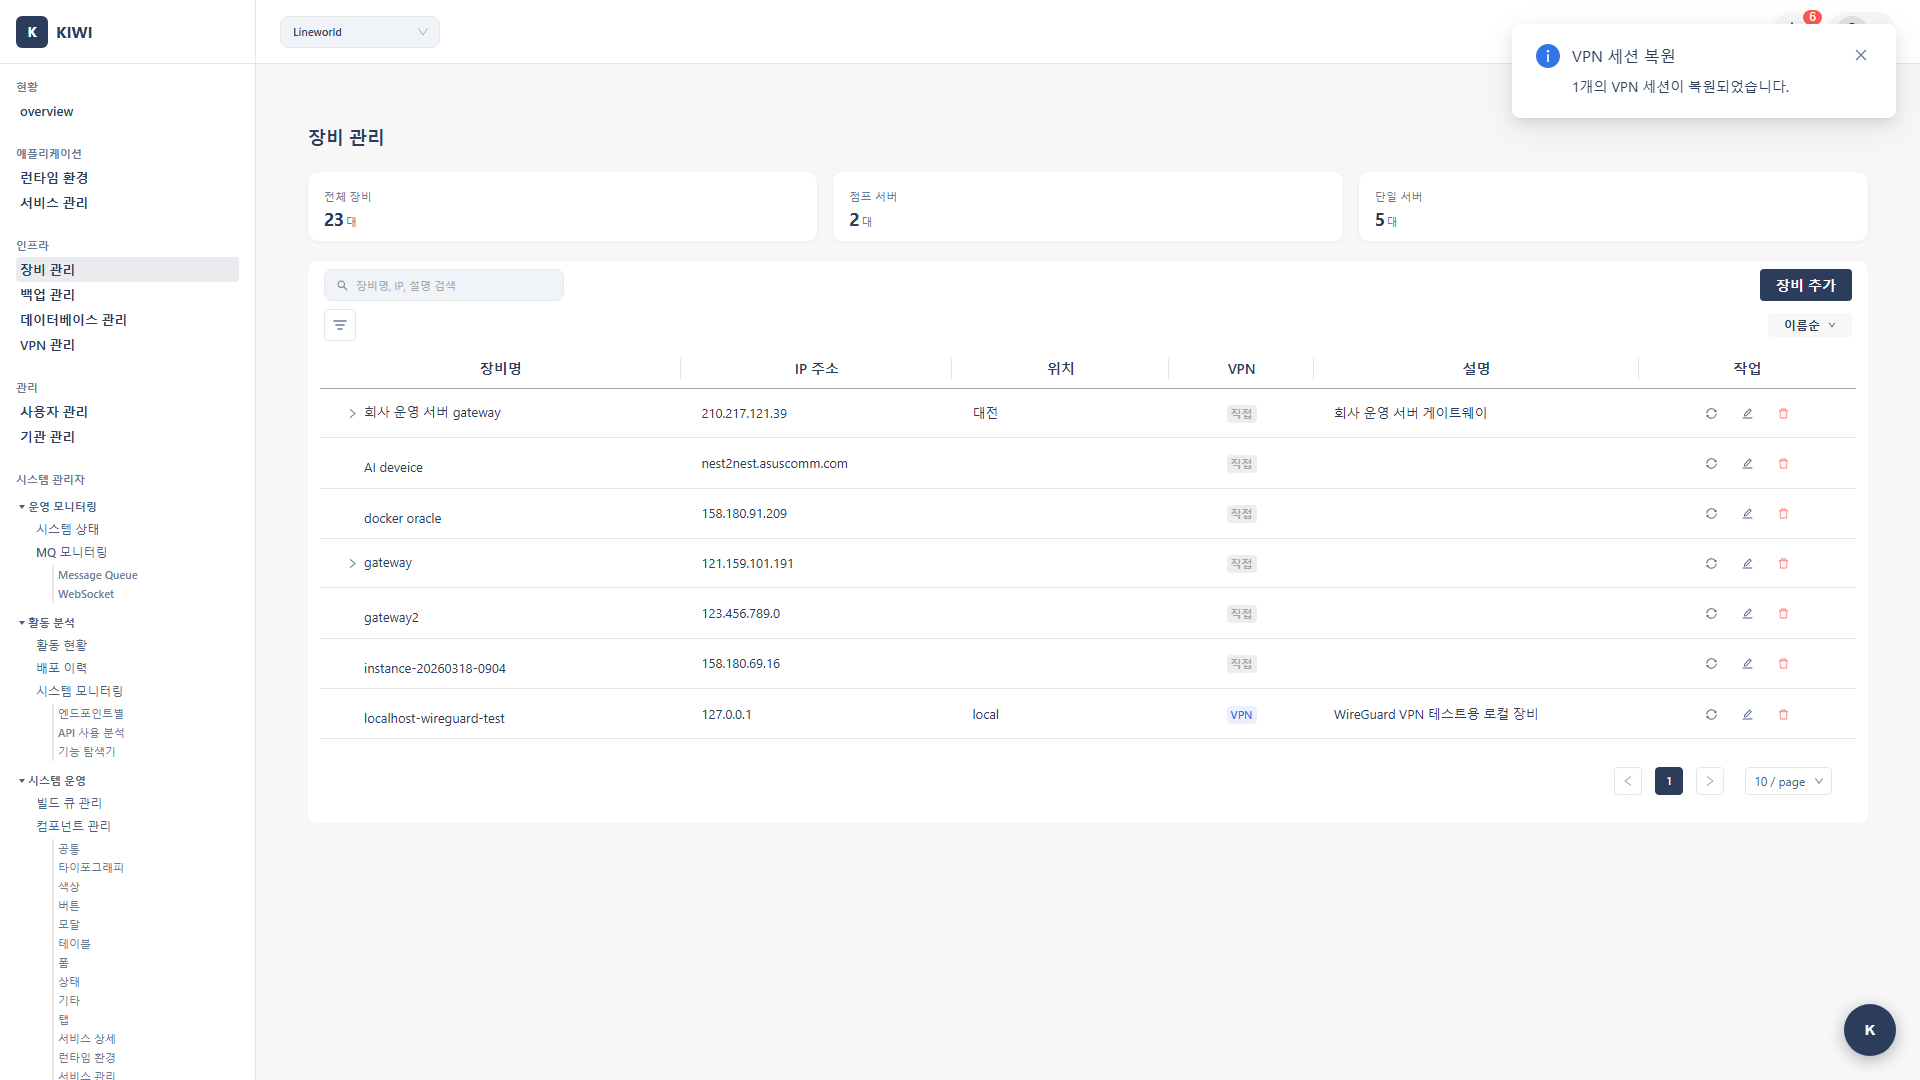
Step 1: Navigate to Device Management Page
- Click [Device Management] page in the left menu
- Select Add Device from the Add dropdown in the upper right corner .
Step 2: Enter Basic Information
Enter the following information in the device registration modal:
-
Parent Device (Optional): Select the parent device (jump server) if routing through one. Leave empty if directly accessible.
-
Device Name: An identifier to distinguish the device .
- Example:
prod-web-01,dev-server - Including environment (prod/dev) and purpose makes it easier to find later .
- Example:
-
IP Address: The server's IP address for SSH access .
- Example:
192.168.1.100 - Enter private IP if using a parent device .
- Example:
-
Port: The SSH access port
- Default:
22 - Enter the appropriate port if you've changed it for security .
- Default:
Step 3: Configure Additional Information (Optional)
You can enter additional information as needed:
- Location: Physical location of the server (e.g.,
Seoul IDC,AWS ap-northeast-2) - VPN Profile: Select a VPN profile if accessing the server through VPN
- Description: Enter a description for the server freely .
Additional information is useful when managing devices later. As you add more devices, you can quickly find the server you want by location or description.
Step 4: Save and Verify Connection
- After entering all information, click the Add button to register the device .
- In the device list, click the Collect System Info icon (sync icon) for the registered device .
- An SSH credentials input modal appears. Select the authentication method:
- Password: Enter the username and password
- SSH Key: Enter the username and upload an SSH private key file (.pem, .key)
- If the connection succeeds, OS, CPU, memory, and disk information will be automatically collected .
SSH credentials (passwords, private keys) are stored only in your current browser and are never sent to the server. If you clear your browser data, you will need to re-enter your credentials.
After registering a device, running system info collection confirms that the SSH connection is working properly. On success, device information is automatically populated.
Troubleshooting
Connection Failure (Connection refused)
SSH connection failed: Connection refused
This error means the server is refusing SSH connections. Please check the following:
-
Check Firewall Settings
- Verify that the SSH port (default 22) is allowed in the server's firewall
- You can check with
sudo ufw statusorsudo firewall-cmd --list-all
-
Check SSH Service Status
- Verify that the SSH service is running .
systemctl status sshd -
Re-verify IP Address and Port
- Double-check that the IP address and port entered are correct
- Make sure you haven't confused public and private IP addresses .
Authentication Failure (Permission denied)
SSH authentication failed: Permission denied
This error means the authentication information is incorrect. Please check the following:
-
Verify Account Information
- Verify that the username and password (or SSH key) entered are correct
- Check that there are no leading or trailing spaces when copying/pasting .
-
When Using Password Authentication
- Verify that PasswordAuthentication is set to
yesin the server's/etc/ssh/sshd_config
grep PasswordAuthentication /etc/ssh/sshd_config - Verify that PasswordAuthentication is set to
-
When Using SSH Key Authentication
- Verify the uploaded private key is in PEM format (file content should start with
-----BEGIN ... PRIVATE KEY-----) - Verify the corresponding public key is registered in the server's
~/.ssh/authorized_keys - Verify that PubkeyAuthentication is set to
yesin the server's/etc/ssh/sshd_config
grep PubkeyAuthentication /etc/ssh/sshd_config- KIWI supports RSA, Ed25519, and ECDSA key formats .
- Verify the uploaded private key is in PEM format (file content should start with
Next Steps
Device registration is complete! Now it's time to connect a runtime to the registered device:
- Kubernetes Connection - Connect a K8s cluster to the registered device .
- Docker Connection - Connect a Docker runtime to the registered device .