Kubernetes Cluster Registration
Connect a Kubernetes cluster to the KIWI platform to manage the container orchestration environment. Once you register a cluster, you can conveniently manage workloads through the web UI without complex kubectl commands.
Why Register a Kubernetes Cluster?
Kubernetes is a powerful tool for managing large-scale container environments, but it has a steep learning curve. Registering a cluster with KIWI offers these benefits:
- View cluster status at a glance on the dashboard
- Deploy and update services with just a few clicks
- Use auto-generated configurations without writing complex YAML files .
- Centrally manage multiple clusters from one place .
Kubernetes (K8s) is an open-source platform that automates the deployment, scaling, and management of containerized applications. It enables efficient container operations across multiple servers.
Prerequisites
The following conditions must be met before registering a cluster:
- Kubernetes version 1.20 or higher must be installed .
- A valid kubeconfig file with access to the cluster is required .
- Network communication between the KIWI server and the K8s API Server (default port 6443) must be possible .
The kubeconfig file is usually located at ~/.kube/config. It is automatically created when installing Kubernetes and contains cluster connection and authentication information.
Registration Procedure
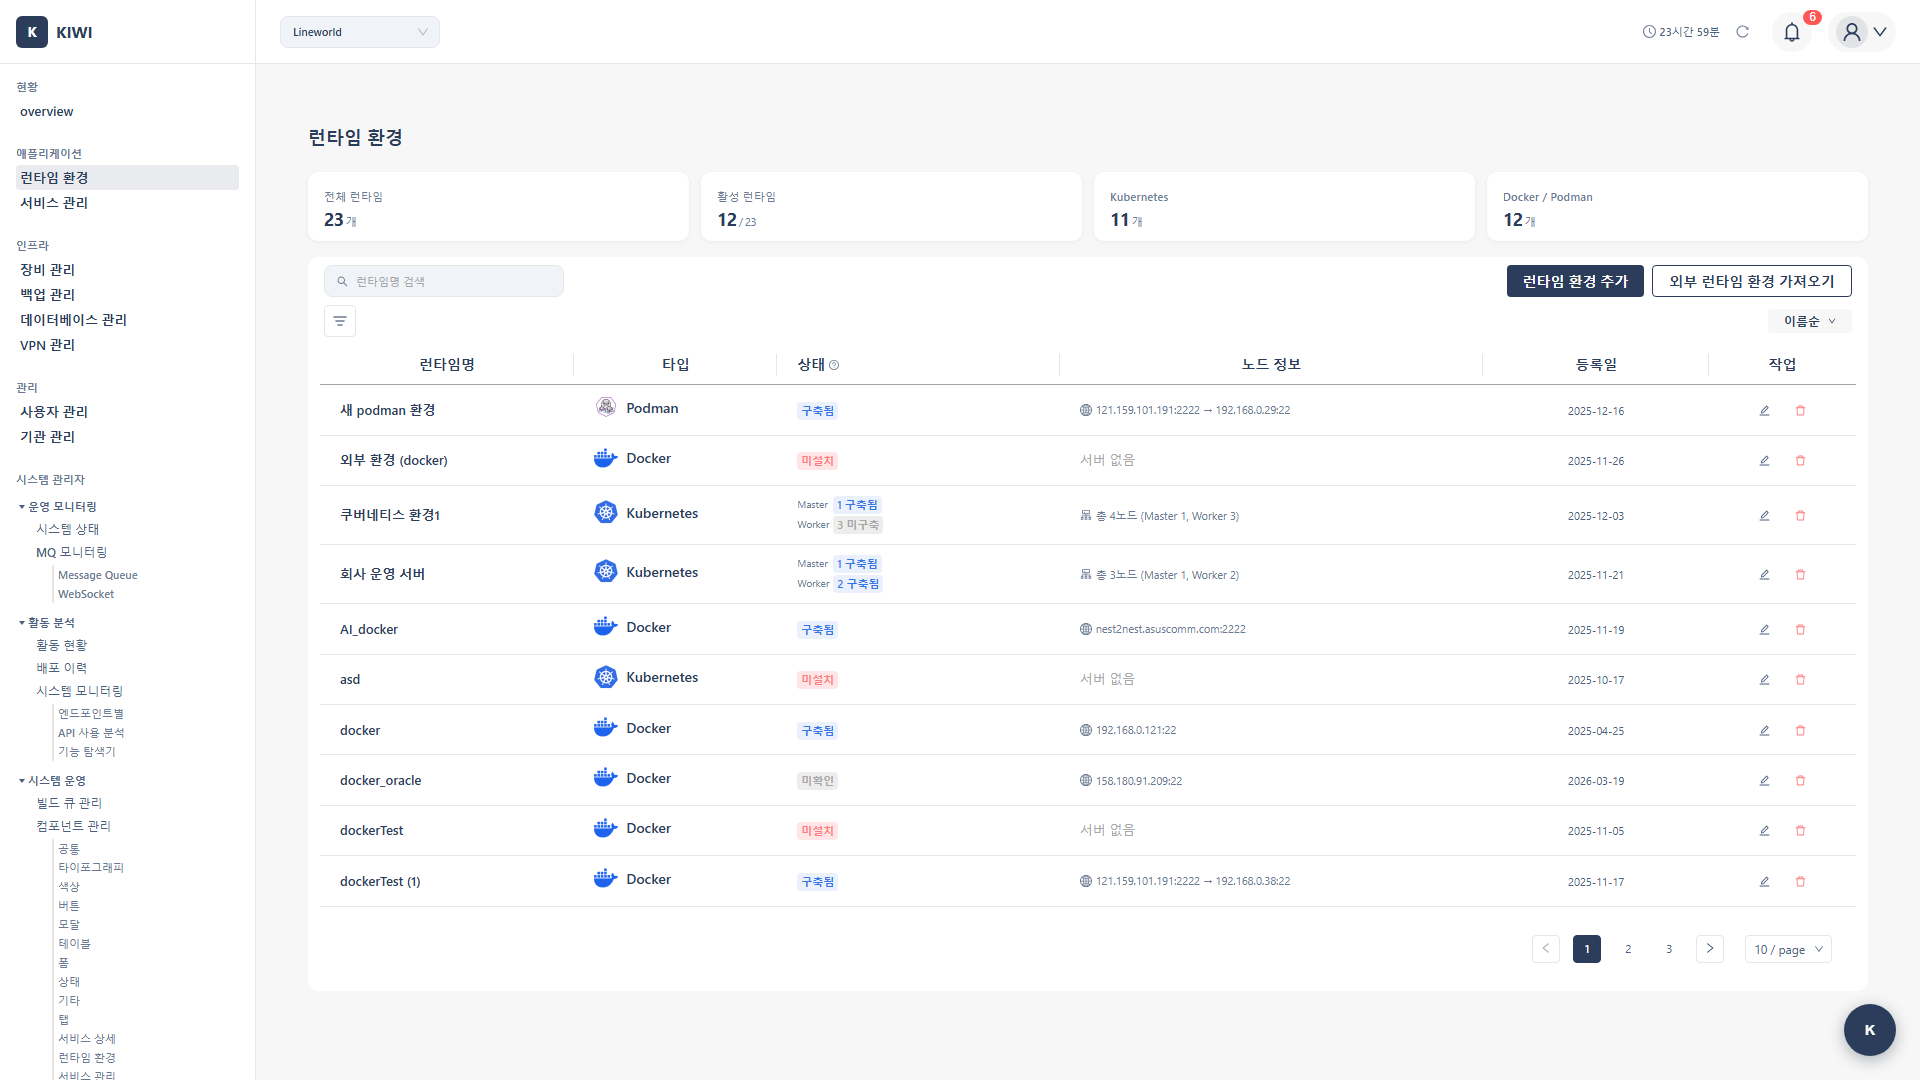
Step 1: Navigate to Runtime Environment Page
- Click [Runtime Environment] page in the left menu
- Click the Add K8s Cluster button at the top
Step 2: Enter Cluster Information
Enter the following information in the cluster registration modal:
-
Name: An identifier to distinguish the cluster .
- Example:
prod-cluster,dev-k8s - Write it so the environment and purpose are clearly visible .
- Example:
-
API Server: The address of the Kubernetes API Server .
- Example:
https://192.168.1.10:6443 - The port number (default 6443) must be included .
- Example:
-
Namespace: The default namespace to use
- If left blank,
defaultis used . - We recommend separating namespaces by team
- If left blank,
Step 3: Configure Authentication
Upload a kubeconfig file to configure cluster authentication.
kubeconfig file example:
apiVersion: v1
kind: Config
clusters:
- cluster:
    server: https://192.168.1.10:6443
    certificate-authority-data: LS0tLS1CRUdJTi...
  name: my-cluster
contexts:
- context:
    cluster: my-cluster
    user: admin
  name: my-cluster-context
current-context: my-cluster-context
users:
- name: admin
  user:
    client-certificate-data: LS0tLS1CRUdJTi...
    client-key-data: LS0tLS1CRUdJTi...
The kubeconfig file contains cluster access permissions. Manage the file securely and be careful not to include more permissions than necessary.
Step 4: Verify Connection and Save
- Click the Test Connection button to verify that the cluster can be accessed successfully .
- If the connection is successful, click the Save button to register the cluster .
Checking Cluster Status
Once registration is complete, the following information is available:
- Node list: View the status (Ready/NotReady) and CPU/memory status of nodes participating in the cluster .
- Namespaces: View the list of available namespaces in the cluster .
- Resource usage: Monitor total CPU and memory usage in real-time
- Workloads: Check the status of Deployments, Pods, Services, etc.
On the cluster detail page, verify that all node statuses are 'Ready'. If there are nodes in 'NotReady' status, there may be a problem with those nodes.
Troubleshooting
Connection Failure (Unable to connect to the server)
Unable to connect to the server
Cause: The KIWI server cannot connect to the Kubernetes API Server.
Things to Check:
-
Verify API Server Address
- Check that
https://is included in the address . - Check that the port number (default 6443) is included .
- Check that
-
Verify Network Connection
- Check that communication is possible from the KIWI server to the cluster API Server .
curl -k https://192.168.1.10:6443/healthz -
Check Firewall Settings
- Check that port 6443 is allowed in the firewall
-
Verify Authentication Information
- Check that the authentication information (certificates) in the kubeconfig file has not expired .
Insufficient Permissions (Forbidden)
Forbidden: User cannot list pods
Cause: The user configured in kubeconfig does not have sufficient permissions.
Solution:
KIWI needs appropriate permissions to manage the cluster. Bind a ClusterRole with the following command:
# Bind cluster-admin role (all permissions)
kubectl create clusterrolebinding kiwi-admin \
  --clusterrole=cluster-admin \
  --user=<username-from-kubeconfig>
If using a ServiceAccount, appropriate permissions must be granted to that ServiceAccount. In production environments, it's best to grant only necessary permissions following the principle of least privilege.
Next Steps
Cluster registration is complete! You're now ready to register services and deploy to Kubernetes:
- Service Registration - Register services to deploy to the cluster .
- K8s Deployment - Deploy services to Kubernetes .